How To use Dive Tables
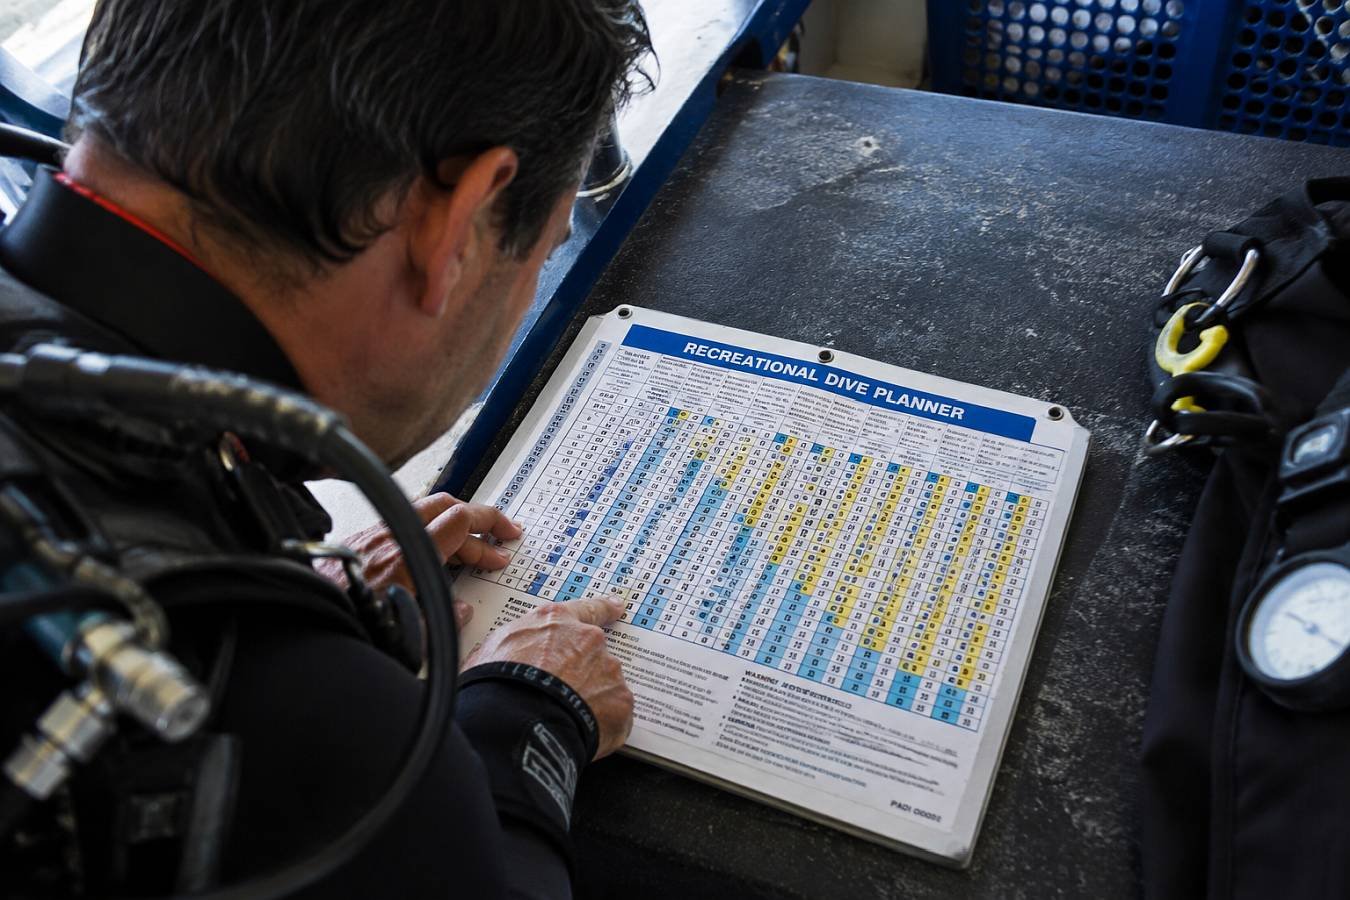
At first glance, a dive table can seem rather complicated, with rows, columns, letters and numbers that are not immediately obvious. Once we understand what the different sections mean, however, using one becomes much more straightforward. In simple terms, we enter the table with the maximum depth and duration of the dive, and it gives us a pressure group that represents the amount of residual nitrogen in our body.
Maximum depth + dive time → Pressure group
The real value of a pressure group becomes apparent when we make several dives on the same day. After the first dive, our body still contains some of the nitrogen absorbed underwater. We therefore cannot simply start planning the next dive from scratch. The surface interval gives our body time to release some of that nitrogen.
To calculate the effect of the surface interval, we first note the pressure group at the end of our first dive. We then find the length of time between leaving the water and starting the next dive. By cross referencing these two pieces of information in the appropriate section of the table, we can find our new pressure group. The longer we spend at the surface, the more nitrogen our body has time to eliminate, so our starting point for the next dive becomes more favourable.
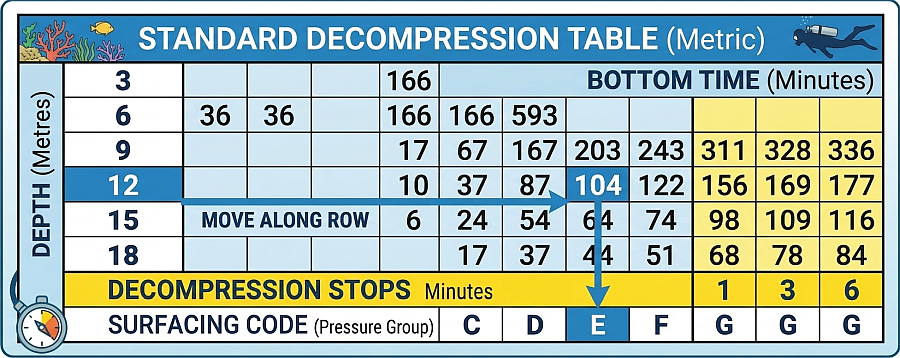
⚠️ Warning: The dive table shown is for demonstration purposes only. It does not contain real values and must not be used for dive planning
We can then use this new pressure group together with the planned depth of our second dive. The table gives us a residual nitrogen time, which represents the nitrogen already present in our body from the previous dive. In other words, although we may only have been underwater for a few minutes on our second dive, the table makes us account for some additional time because of the nitrogen we are still carrying. We add this residual nitrogen time to our actual planned bottom time and compare the result with the no decompression limit for the new depth. This tells us how much actual dive time is available.
The pressure group is not the only information we can get from a dive table. Depending on the table and the dive profile, it can also tell us whether any decompression stops are required and, if so, at what depths and for how long. This allows us to plan the ascent rather than simply calculating how long we can stay at depth. For ordinary recreational dives kept within the no decompression limits, no mandatory decompression stops are required, although a safety stop is commonly recommended.
The process may seem a little involved when we first encounter it, but it becomes much easier once we work through a couple of examples. The important thing is to follow the table step by step rather than trying to work everything out at once.
There is also an important point to remember. Dive tables are not all the same. Different training organisations use different tables and decompression models, so the limits and calculations can vary. One table may give a more conservative limit at a particular depth than another. These systems should not be mixed, as their calculations are based on different assumptions.
We should always use the dive table provided as part of our training and certification, and follow the procedures we were taught. If we are unsure which table or method applies to us, we should check with our instructor or training organisation rather than making assumptions.